
I decided that with all the story resources I am creating, I need something to put them in: Story Sacks! You will need fabric and wide ribbon. And thinner ribbon or cord for the drawstring. And a sewing machine.

Cut your fabric to your desired size.
Cut your wide ribbon to the width of your fabric. This will be the drawstring part of your story sack.

Fold the wide ribbon in half lengthwise. Open it up, place your fabric up to the fold, and fold the ribbon over. Sew into place along the edge of the ribbon.

Repeat on the other end of the fabric.

Bring both sides together (wrong side up) and sew down each side.

Cut 2 lengths of thin ribbon twice the length of your story sack with a bit to spare.

To thread the ribbon through the drawstring part, attach to a safety pin to make it easy to pull through.


Tie the ends of one ribbon together on one side; thread the other ribbon the opposite way so that you can tie the ends together on the other side.

This is a neat little trick to stop ribbon or delicate fabric from fraying:
Light an incense stick. Run the ends of the ribbon/edge of fabric through the burning incense to singe it - it seals it and stops it from fraying.

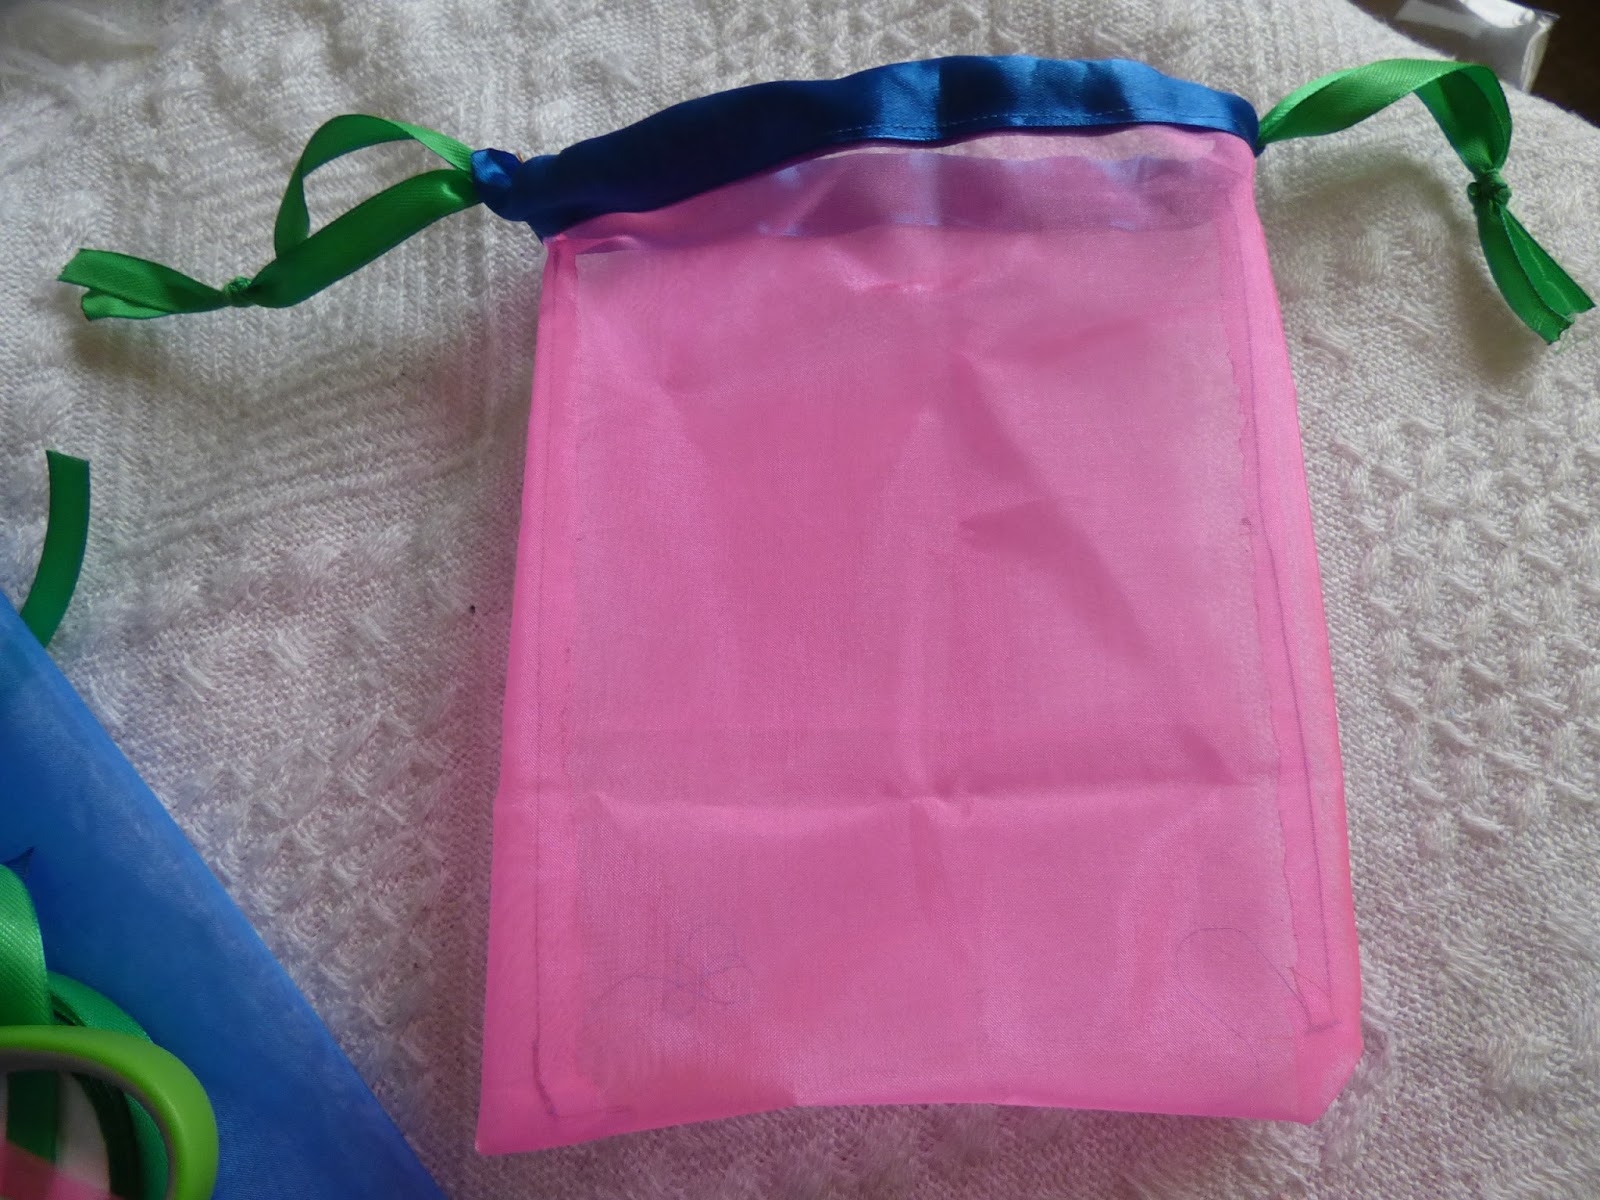
Completed story sacks, of all different sizes.


I used fabric markers to write on the sacks.

Click on the link for more of my teaching resources
No comments:
Post a Comment