This Ten In The Bed resource was simple to make using empty toothpaste boxes, card, wooden pegs, scraps of fabric and glue. I didn't want the bed to be too big, because it is supposed to be a single bed, but it needed to be able to accommodate 10 peg dolls. The peg dolls are the perfect shape because they roll! So when the little one says "Roll over, roll over", children can roll the peg dolls so one falls out - perfect! I just used what I had available in my craft room - I am always saving empty grocery boxes and packets to take to school or to use 'one day'. Today was that 'One day!'.
Ten wooden pegs to make ten in the bed peg dolls
This is a great project for using up any little scraps of fabric, ribbons, lace, etc. You can use a variety of fabric for children to feel different textures - I used fleece, brushed velvet, satin, silk ribbons and cottons.
To make skirts: Cut fabric to fit peg. Apply glue to fabric and roll around peg.
For the top, cut a series of small slits across the top of the fabric for ease of fit around the shoulders.
Apply glue to fabric, roll around the peg and push the tabs down around the shoulders.
To make shorts or pants, cut two squares of fabric for the legs, and one long thin piece of fabric for the waistband.
Put the 2 pieces of fabric for the legs facing inwards, and slide between the legs.
Do one leg at a time so you do not lose the fabric - it can be hard to slide a piece of fabric in between the legs when there is another piece of fabric already there.
Slide one piece of fabric out as far as possible without completely taking it out. Apply a liberal amount of glue onto fabric.
Slide the fabric back through, so the glue spreads itself on the inside of the legs. Roll the glued edge of the fabric over the peg doll's leg to secure.
Apply glue to the other side of the fabric, and roll over the leg to secure.
Repeat with the other square of fabric to cover the other leg.
Apply glue to the waistband and wrap around peg doll. Try to keep all seams ending in the same place to keep your work looking neat.
Cut a piece of fabric for the top. Cut a series of slits across the top of the fabric, for fitting around the shoulders.
Apply a liberal amount of glue to the fabric and roll around the peg doll. Press down tabs around shoulders, overlapping them to create a neat and tidy finish.
Fabric for skirt and top. You don't need much fabric to complete these dolls - it's a great way to use little left over scraps.
Pink edging and purple satin.
Ten in the bed: 5 wearing pants and shorts, and 5 wearing skirts. I didn't give them arms because I wrapped the pegs in fabric, but not having arms means that they roll easily.
The Bed
The bed was made from empty toothpaste boxes and masking tape. I just used what I had handy in my craft room. I used some satin fabric for the bed sheet, and decorative paper for the bed ends.
Use masking tape to shut the boxes securely.
When putting the boxes together, I used glue on the sides of the boxes where the boxes met, making sure the glue did not seep onto the sides where it would affect the masking tape.
Line the boxes up together and begin wrapping in masking tape.
Overlap the tape to keep it secure.
Keep wrapping in tape until you get to the end.
Cut 2 pieces of card (I used matboard) to fit the boxes to make a secure base.
Spread liberally with PVA glue and attach to the top and bottom of the toothpaste boxes.
Wrap again in masking tape (this bed needs to be secure to withstand lots of handling).
Making the Bed Ends
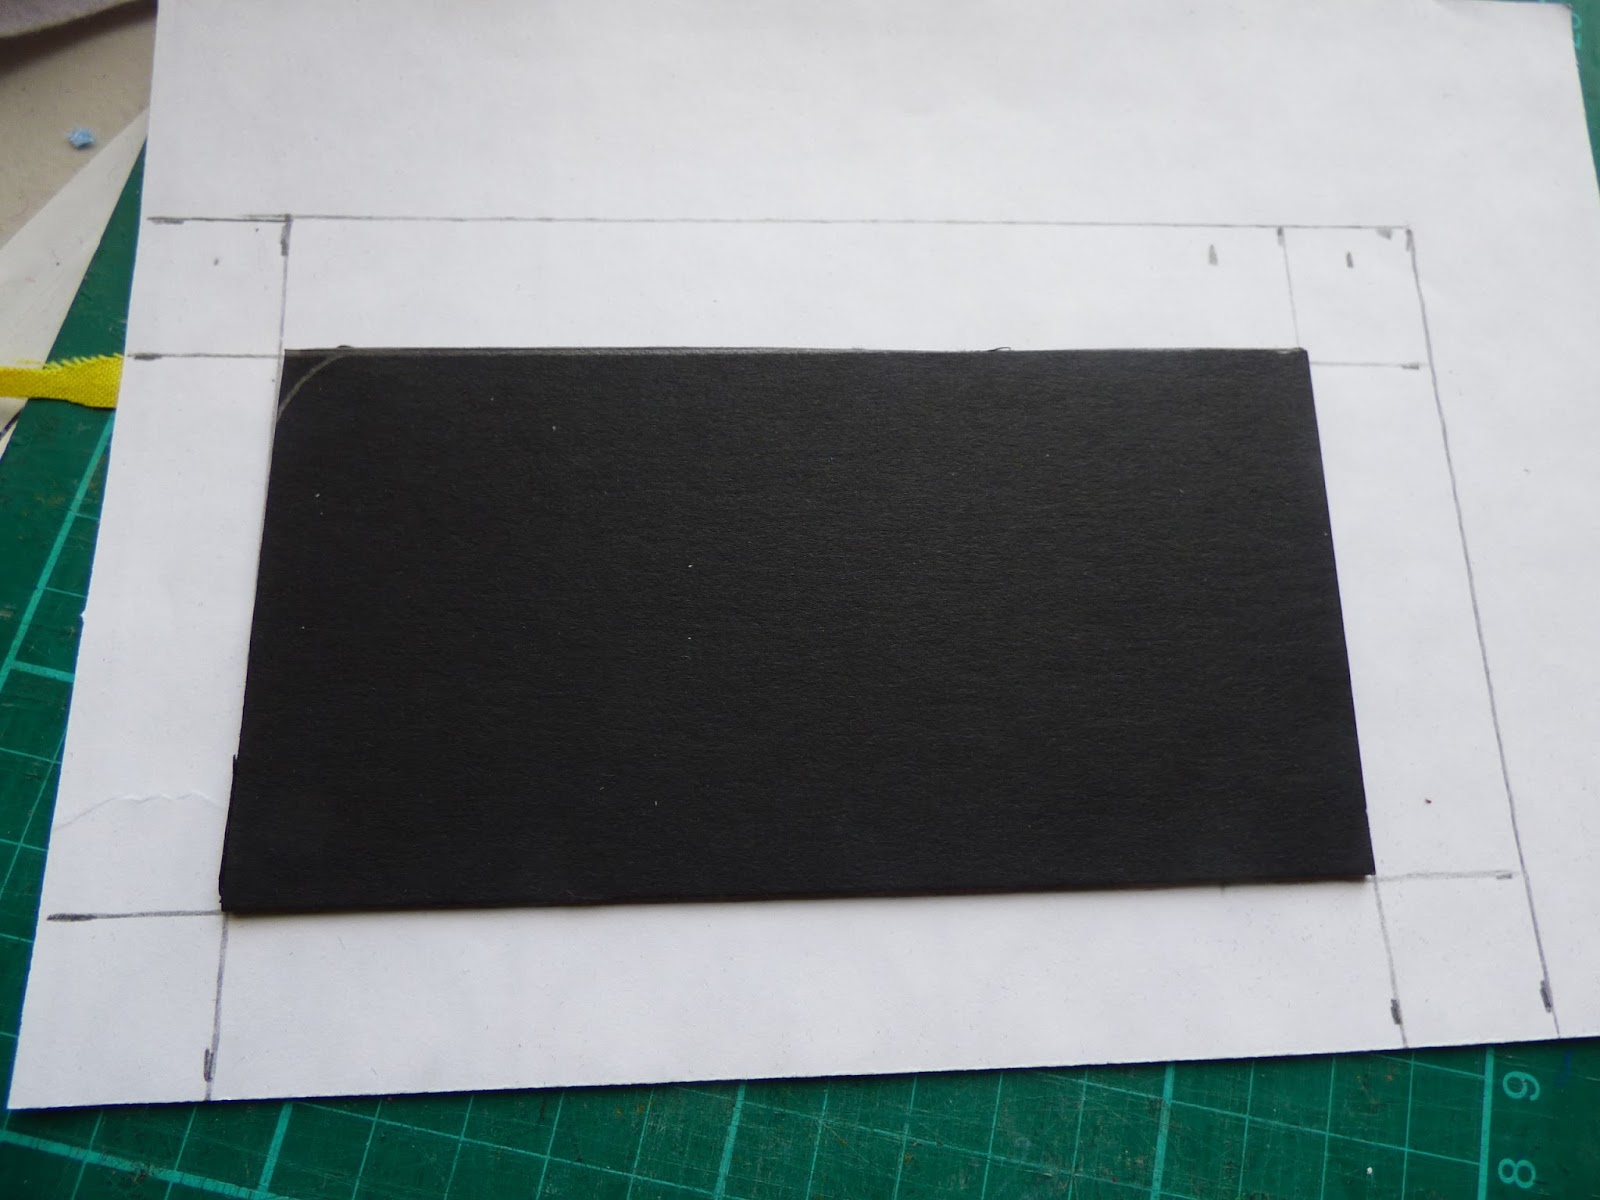
Making the bed ends... measure the size of the ends of the bed, and cut a Headboard and footrest accordingly, leaving about 4cm extra for the footrest and 7cm extra for the Headboard.
Choose how you will cover the footrest and headboard. I used decorative flocked paper to make it look fancy. Place your card for the bed ends on the paper and begin measuring, leaving about 2-3cm space on each side.
Cut paper according to your measurements.
Place your board on your paper.
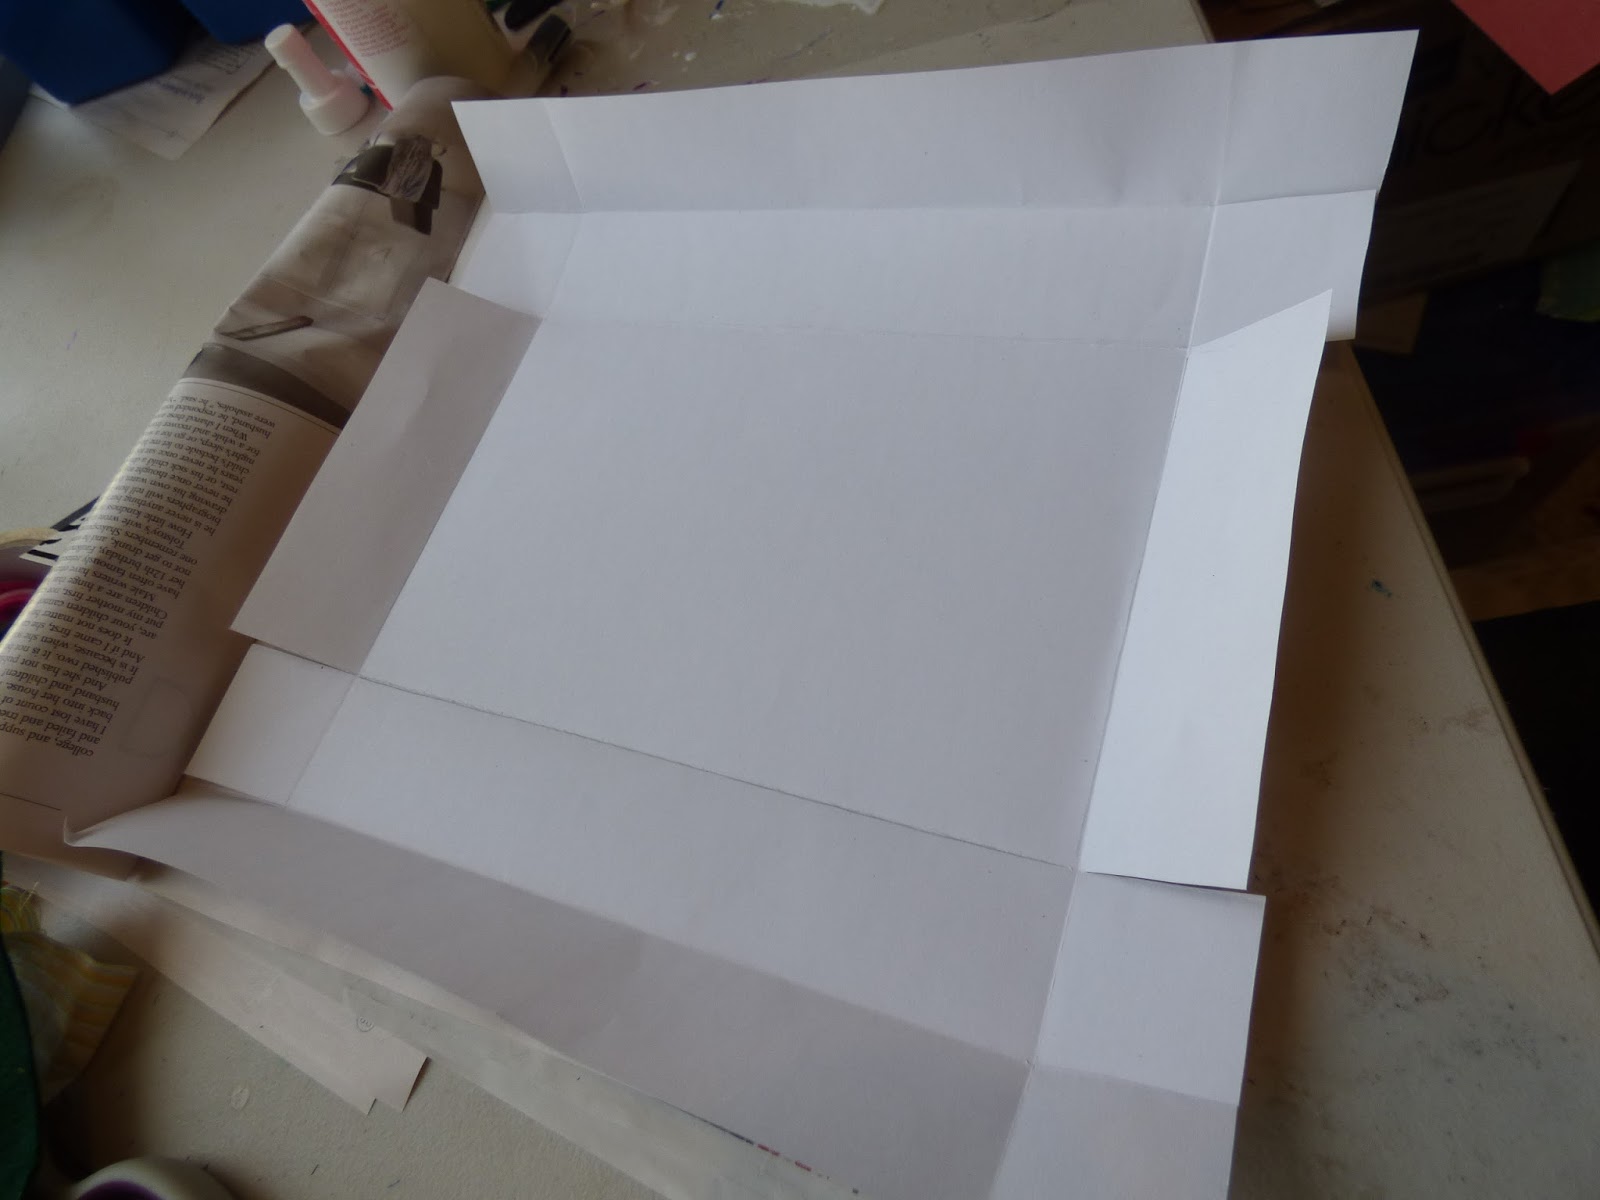
To fold paper neatly around the board, I start by folding the paper to give it crease-lines before applying glue - this tells the paper where I want it to go, and makes it much easier to put the paper in the right place once it has glue on it.
Begin by folding the corners over the board, making sure the folds are at right-angles.
Unfold the corners, and begin folding the sides over - along both length and width of card.
Unfold the sides, and fold corners again, then the sides, creasing the paper so it knows where to fold. Repeat with other bed end.
Begin applying a liberal amount of glue onto the matboard.
Place glued board face-down in the centre of the paper, using your creases as a guide.
Apply glue to corners of paper and fold over, pressing down firmly.
Apply glue to the sides of the paper - do the widths first, then the lengths, and fold over, pressing down firmly.
You should now have two bed ends covered on one side only. You do not want to cover the unfinished sides until right at the end of the project when you have finished attaching the bed ends to the bed.
Covering The Bed
You will want to cover the base of the bed. I found that a sheet of scrapbooking paper was the perfect size for covering the bottom and sides of the bed base.
Place the bed base in the middle of your paper, and fold the paper up over the sides of the bed - do the lengths first, then the widths. Make sure you crease the paper clearly when folding into place.
Unfold the paper and work out where you need to make cuts, to make flaps in order to be able to fold the paper around the sides of the bed base.
Apply a liberal amount of glue to the bed base and position on the paper using the creases as guides.
Apply glue to the sides and top flaps and adhere to base.
Do not attach the side and bottom flaps just yet - this will be done at the end, as they will help hold the bed ends in place and keep them secure.
Cut a piece of fabric to fit the top of the bed base. I used blue satin fabric. Apply a liberal amount of glue to the top of the bed base and adhere the fabric. Cut slits at the ends of the bed, to allow for folding down at each end.
Glue the fabric to each end of the bed.
To attach the bed ends to the bed...
Place the bed end, covered side facing towards the bed.
Apply a liberal amount of craft glue (or other strong glue) to the end of the bed base, and press one bed end against it (right side facing the bed).
Place glue on the paper flaps and fold the side paper flaps inwards.
Apply glue to the bottom flap and fold upwards, pressing firmly.
Repeat at other end.
Measure the size of the bed ends and cut matching paper to fit.
Apply a liberal amount of glue and press paper firmly onto each bed end to cover.
Click on the link for more of my
teaching resources