Showing posts with label 100 Days Project. Show all posts

Saturday, 10 June 2017

Needle felted Angels Tutorial

I know there are a lot of tutorials on how to make these needle-felted angels, and I am sure I learnt from a tutorial on Twig & Toadstool's blog a few years ago, but I cannot find it. So here is one. I hope it is simple and straightforward enough. These angels are not complicated to make and do not take long to make once you have mastered the basics.
You will need some felting needles, and a pad to work on. You can either use a sponge pad (car wash sponges work well) or a special brush pad which you can find at specialty craft shops.

You will also need wool roving, which is carded, unspun wool. Sheeps wool is best to use - goat or merino is too fine to use and doesn't needlefelt well.

Pull off (don't cut!) a length of wool roving. The pen is there to give you an indication of size. The longer the wool, the bigger the angel/fairy will be. Pull off a smaller length of roving for the arms.  

Tie an overhand knot in the middle of the longer length of wool roving... the knot becomes the head of your angel.

Take the smaller piece of roving and roll into a sausage like length between your palms. Press hard and rub rapidly back and forth to create a sausage shape. This is the start of the felting process. 

Then place the arms on your mat, and stab with your felting needle, using an up-and-down motion. Go up and down the arms, and turn the arms over as you go - remember you are felting a 3D object. As you felt, fibres will be pulled through to the other side, and it can become a bit 'fluffy' with fibres sticking out. Roll it firmly between your hands again and this will felt the loose fibres back into the arms. 
Take your roving with the overhand knot in the middle. Open it up and slide the arms underneath the knot, so the remaining wool hangs down either side of the arms. 

Take a very thin strand of wool roving and twist it slightly. Begin wrapping the thin strand around the base of the overhand knot to create a head shape. You don't need to tie it off - just wrap it around and it will stay. Wool is very strong. You might like to stab it slightly with a felting needle to hold it in place.
Then take another thin strand of roving to wrap around the waist and over the arms. This will secure the arms to the angel. 
To do this, find the middle of the length of the strand, hold it against the angel's back with your thumb/finger and wrap it once around the waist. Work with one side of the strand at a time. Bring it diagonally from the waist up to the opposite shoulder, and back down the other side on a diagonal. Do a half-wrap around the waist and bring it up on a diagonal to the other shoulder, and back down to the waist. Keep repeating until you reach the end of the strand; then repeat with the other end of the strand. You do not need to tie it off.

If you want to, you can wrap a little bit of roving around the 'wrist' to create a hand shape. I used to do this but I don't any more. I find it easier just to roll the arms into a sausage shape.
This is the base of your angel. 

To dress your angel, lay the angel onto your mat.
Pull off a length of wool roving in the colour of your choice. 

Fold the wool roving in half and place onto your angel. You can do this a number of ways:
1 - Place the fold over your angel's shoulder, so that it covers the front and back; and stab into place;
OR
2 - Place the fold underneath the neck of the angel, so that you are just doing the front; and then do the same on the back;
OR
3- Place the fold on her waist so that you are creating the skirt, and use a different colour for her top.

Once you have stabbed the top into place, you can lightly stab the roving onto the skirt. You might like to add a second colour onto her skirt. Play around with ideas and colours. 
When you have done her top and skirt, it is time for her hair.
Choose some roving for your angel's hair, and pull of a suitable length. 
Place the head in the middle of the length of hair, and begin stabbing into place.


To add flowers to her hair, take a small length of roving, and wrap around your little finger. Pull off and put into place on her hair. Stab into place. Get a tiny piece of another colour and roll into a little ball. Place in the middle of the flower and stab into place.


 This angel has flowers spiralling around her head.
The flowers on her dress were done in the same way as described above. I lightly felted some green roving together, and stabbed the flowers into place on the green roving.
Then I attached the 'field of flowers' to her dress. 
 This angel has plaited hair, tied off with silver thread.
Play around with embellishments: different types of yarn, embroidery thread, Angelina, ribbons feathers. There are no right or wrongs - just have fun and try out ideas.
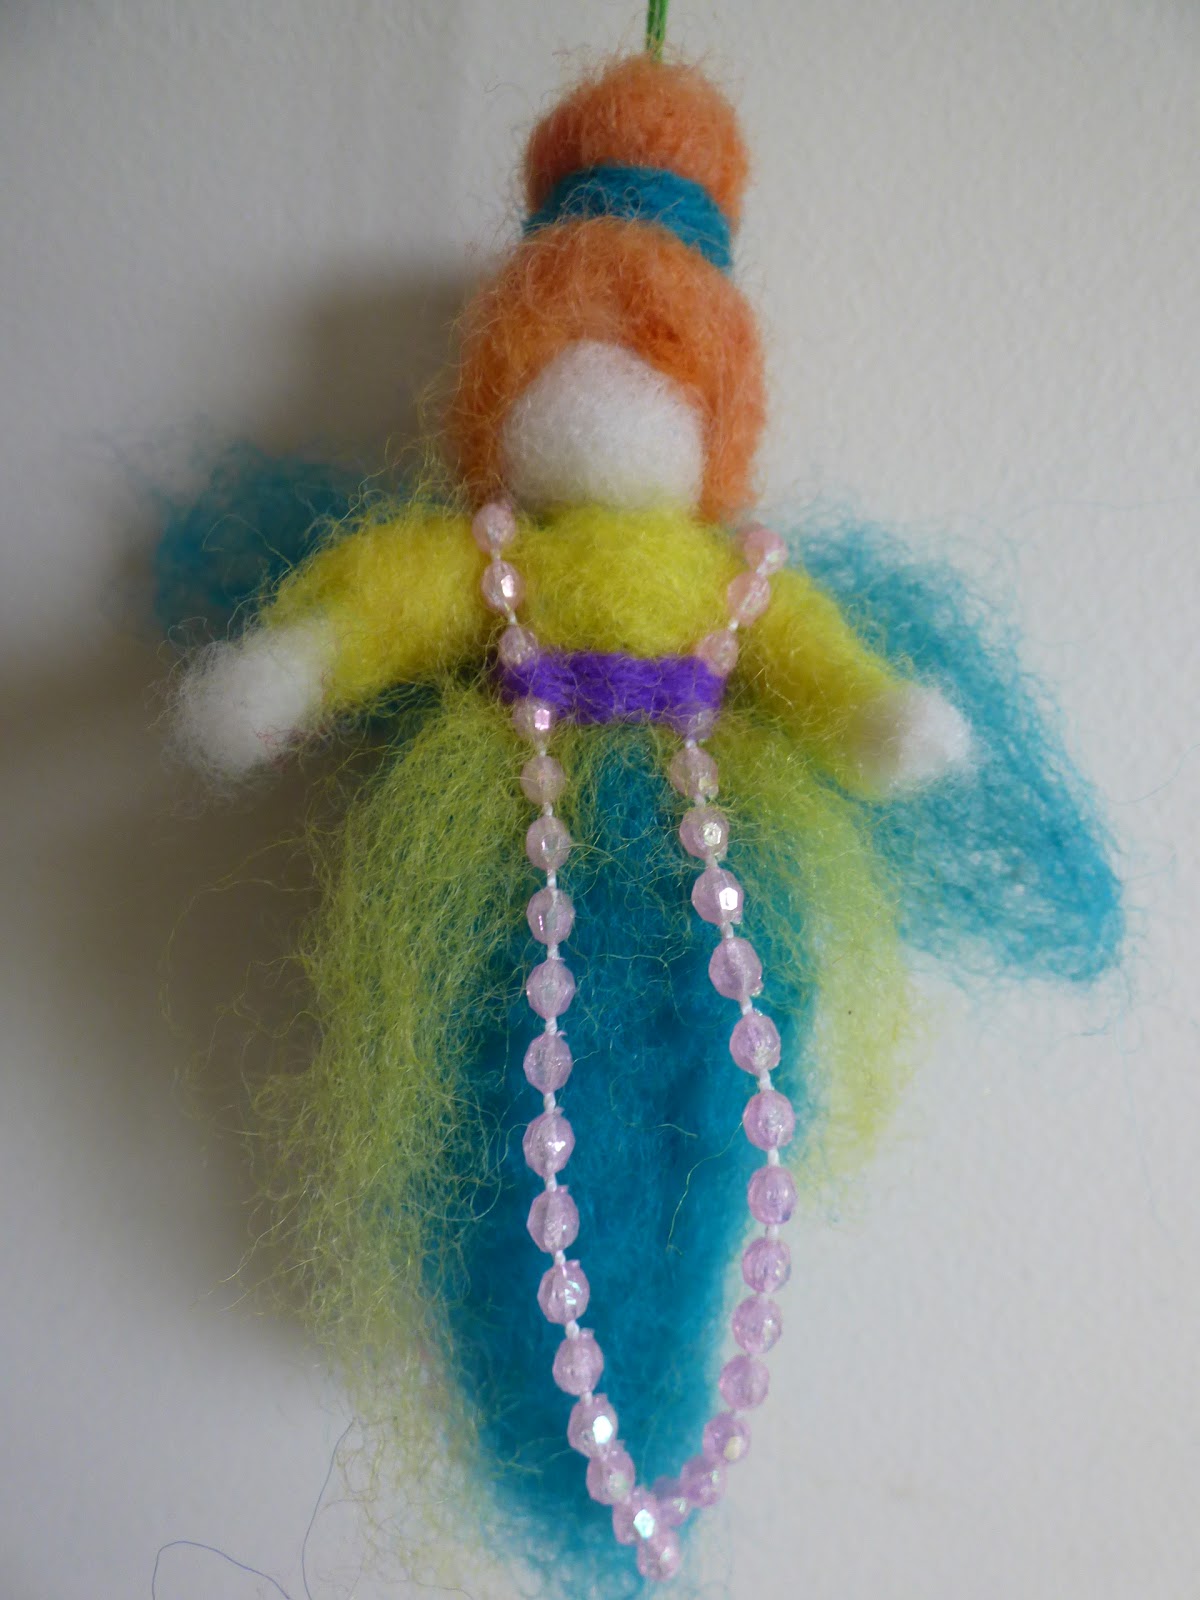
 To attach embellishments such as feathers, ribbons or beaded strings as above, I wrap wool roving around it (as you can see in the above photo) and stab the roving into place. This secures your embellishments. You could try sewing them into place, too. 
These flowers were done the same way as detailed above - wrap a small strand of coloured roving around your little finger, pull off and stab into place. I attached the flowers to the lavender coloured roving before putting it onto the angel. Then I wrapped a thin ribbon around her waist and tied it off at the back.

My 100 Days Project so far... 100 Days Project: Angels for Babies (100 Days Project website link)


Thursday, 20 April 2017

Angels for Babies... 100 Days Project

So the 100 Days Project is approaching... the starting day is 22 May.
My project is going to be called Angels for Babies... making angels to give away to women who have been unable to have babies, or who have lost babies.

Having gone through my own journey, my heart went out to a woman in my choir, whose daughter in England is experiencing the same heartbreak. She has been unable to carry a child full term, and after an entopic pregnancy, where surgeons had to remove her baby even though she felt fine, is now having trouble conceiving. I know the heartbreak of blood. After hearing her story, I thought I would like to make her an angel, to let her know she is not alone in this. When it came to deciding upon a project for the 100 Days, several ideas later, I decided to make 100 angels, to be given away to women who have lost a baby or find themselves with the heartbreak of being unable to have a baby.  This is the beginning of a journey that will be emotional, beautiful, and I hope also healing.

In preparation for the start of the 100 Days Project... preparing angel bodies, ready to be transformed day by day during the project. Made from sheeps wool.

So... it has started, and I am up to Day 20. I have been having fun playing with colours, ribbons, feathers, and thread. My challenge so far has been to make each angel different with the colours that I have. My stash of wool has been in my craft room for a few years and it really started when I did my first 100 Days project 4 years ago when I decided to needlefelt something every day for 100 days. My mum has added to it as she gifts me wool that she has dyed and carded, but is unsuitable for spinning, whether it is because she accidentally felts it or because it is the leftover bits.

Each day I share a little bit of my story on the website... Angels for Babies 100 Days Project. I hope it is not all doom and gloom even though it is a bit of a sad subject. I have been learning that this is a really common scenario for many women, and that they too have to rewrite their fairytale. I have been humbled by the women who have contacted me so far, and shared their stories with me. Every woman has their own story., their hopes and dreams shattered by reality, and my heart goes out to them.

Update... It is now Day 54 of the 100 day project, and so far I have managed to stay up to date, although I haven't necessarily been upload to the website each day, because I prefer to take photos in daylight rather than at night. It can be a challenge to make every angel different and unique when using a limited range of colours (although I really do have a lot of different colours!). I have started getting a bit choosy over colours, as I wonder if I have used too much of one colour - sometimes it feels like all my angels are mostly blue, or purple, and I can struggle with indecisiveness. So I have adopted a new technique to bypass choosing colours: I just stick my hand into my plastic tub full of wool, and whatever comes out, I use.  As to my journey so far as this project progresses, I have found Facebook support groups for people dealing with IVF and infertility; I have found an Auckland infertility support group that meets each month; and friends have been telling me about friends they know who are going through what I have been through. I still cry about it at random times (especially if articles about abortion or pregnancy suddenly comes on the news), and I wonder if I need to go to counselling to help me deal with these emotions, as it has been a few years now, and I still get upset.

There are lots of tutorials available online to learn how to make an angel... I am sure I learnt how to do it through Twig & Toadstool but I can't find the link right now.  I have created a tutorial on a separate post, Tutorial for making needle felted angels, just because when searching for a tutorial, I am having trouble finding a nice simple one.
 Day 1... I made miniature hearts for my angels to hold; and added sparkly Angelina to the wings. I didn't iron the Angelina - just layered the wool roving over the the back, and felted it in, to keep the Angelina in place.
 Had a go at felting koru shapes onto the skirt.


Experimenting with feathers for wings... I put the feathers together, (2 feathers on each side) with the ends of the feathers overlapping. I wrapped wool roving around the ends of the feathers in the centre of the wings to hold them together and felted the roving into place, which secures the feathers.
 Playing around with copper thread, and feathers.
Plaited hair, tied off with silver thread. Silver thread around the waist holds the yarn over her shoulders in place.
I felted the flowers onto the green wool roving first, before attaching it to the dress. A thin strand of roving around the waist holds the lacy ribbon in place.
I sewed the beads onto the angel, taking the thread right through from the front to the back of the angel.
Strands of sparkly blue yarn on each side of her shoulder; held into place by wool roving wrapped around her waist and stabbed to secure.
I attached the flowers to the purple roving before putting it on the angel. You can learn how to make the flowers on this tutorial... Tutorial for making needle felted angels. I then wrapped a thin ribbon around her waist and tied it off at the back.
The beaded strands is held into place with wool roving wrapped around the waist and stabbed into place to secure.
To secure the feathers into place at the back, I placed a piece of wool roving over the ends and stabbed it into place.


 I made the miniature flowers using a small piece of pipecleaner, and a scrap of felt rolled into a flower shape.


 The stars were made from bondable Angelina fibre which I ironed; then I used a little star sticker as a template and cut around it on the Angelina to create the stars. I sewed the stars into place, and put one star in her hair. I put a bit of Angelina fibre in the wings as well (not ironed), to add a little bit of sparkle.


 I need a new stick - am running out of room.


 I used a bit of ribbon folded over into the middle, as wings.


 This angel is wearing a white feather boa - very glamorous!
 I used corriedale/sheeps wool as the base of the angel and her dress; but I used a merino/silk/corriedale mix for over the top - it feels so soft and silky.

I plaited her hair at the back.

 A multicoloured angel, with different colours around her skirt as well as over the top.
 This is the back of the multicoloured angel.

 A rainbow inspired angel, complete with rainbow wings, and holding a miniature heart. I sew the miniature hearts into place.


 I quite like using a variety of colours on the dresses and reflecting the colours in the wings.
 48 angels hanging off a stick.


 I am being brave and using different colours for the hair - previously I have tried to go for natural coloured hair. I rather like this little angel with her yellow dress and pink hair.