Sunday 25 September 2016

Jack and The Beanstalk - 100 Days Project: Mat Time Resources

Being a wet miserable day today, I have been able to spend all day in the craft room.  Which means working on my 100 Days Project!  This is the story of Jack and the Beanstalk - the story so far (I am yet to make the Giant and the Giant's Wife).  

All are created out of felt, so they can be used on flannel boards, felt boards, and that other stuff that schools use on their walls (felt and velcro stick to it but I can't remember what it is called!).

I use acrylic felt, fabric paints & markers, and PVA glue as well as tacky glue (depending on which one I have closest to me - both work equally well).

I start by sketching the outlines which I then trace onto clear acetate, to create my template.  Once I have a template, I can use it again and again for different stories.  
 Jack.  I keep my figures pretty simple.  
I use scraps of coloured felt for the clothes and glue them on.
 The bag of magic beans.
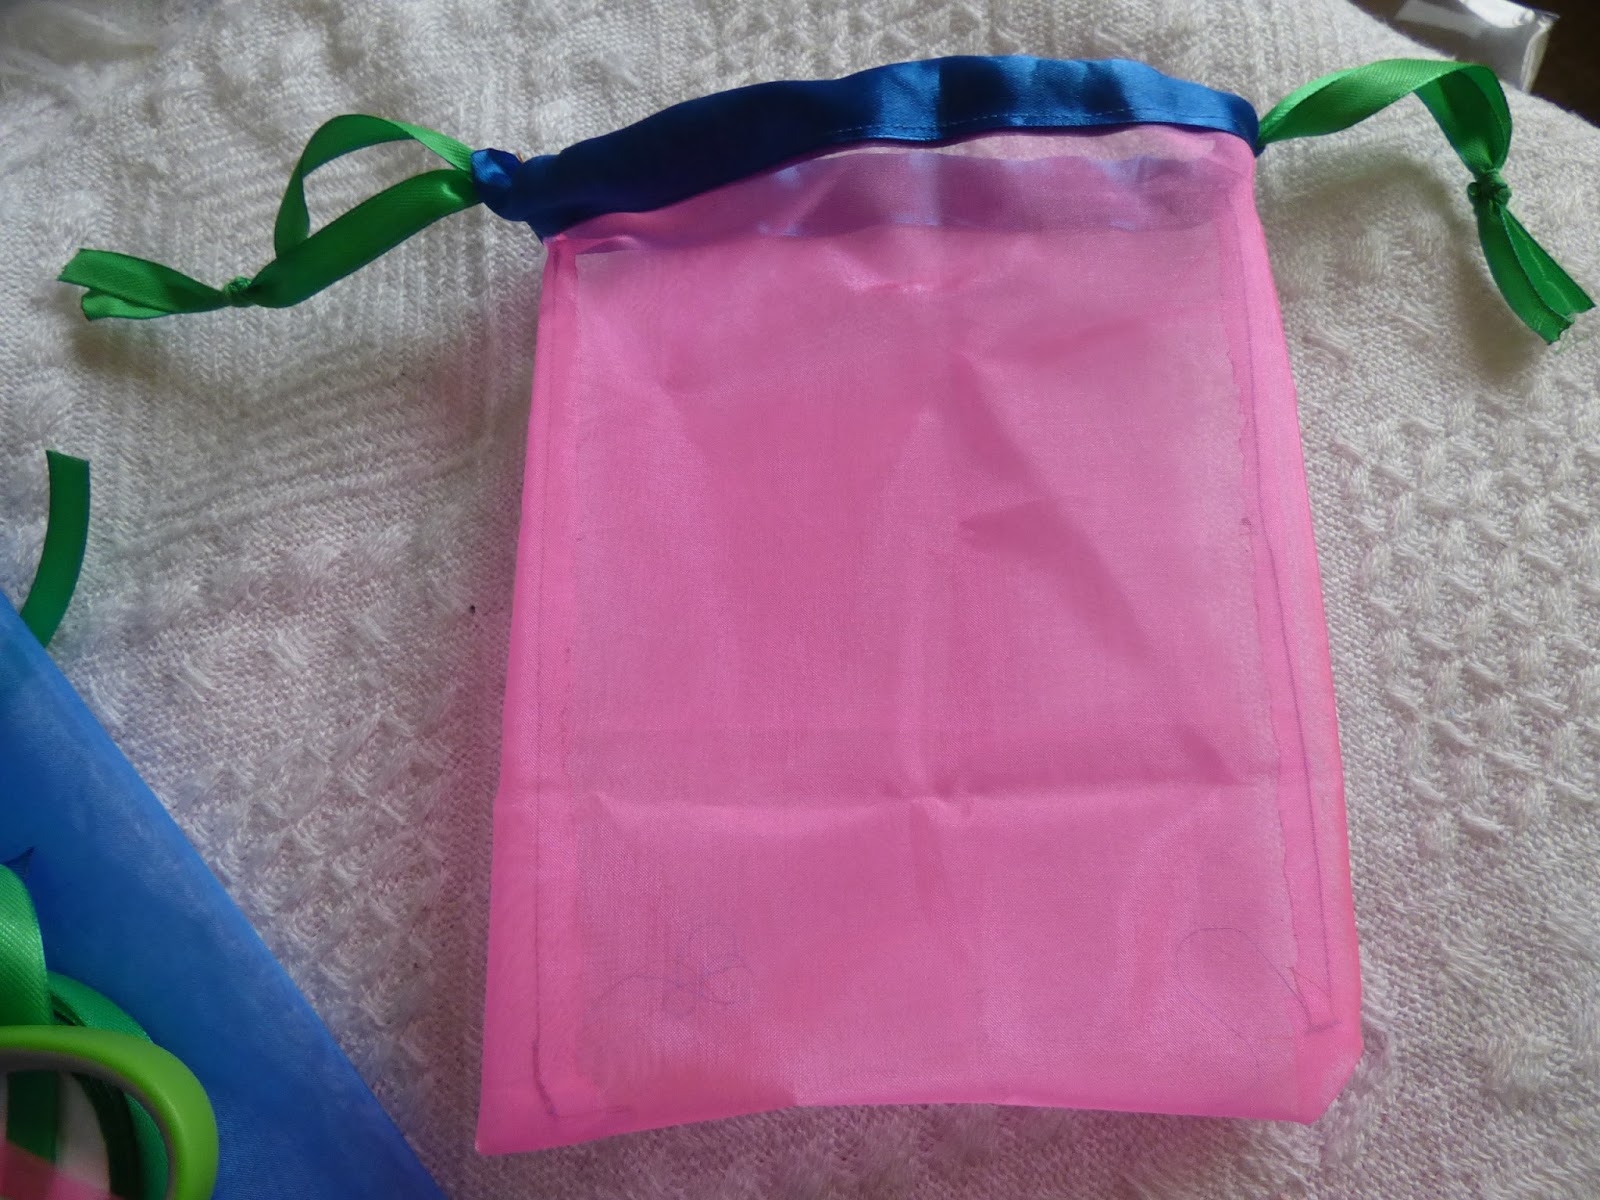
 The giant's money bag full of gold coins.
 The cloud at the top of the beanstalk.
 The giant's castle.
 The chicken.  I made three chickens at once because I will use them in different stories - one for Jack & The Beanstalk; one for The Enormous Turnip; and one for The Gingerbread Man. I think it is easier to do multiple chickens all at once. 
 To paint the details, I use Pebeo fabric paints - Pebeo Touch have a nozzle for fine work; the Setaskrib are fabric pens; and the Pebeo Line is a black outliner but is no longer available - that range of stock was replaced by Pebeo Touch.
 The harp.  I used Pebeo Black outliner to do the details.
 I found a really clever technique that makes it so much easier for cutting out tricky shapes.  I found this tip on this wonderful blog by Wee Folk Art.  Use a low adhesive tape and tape the template down on your felt.  It holds the felt still so that it doesn't move or stretch, and keeps the template adhered to the felt and you just cut around it.  Then you peel the template off and peel the tape off the surrounding felt.  


 Jack's mum.  I cut the basic template out in beige felt, then used felt scraps for the dress, apron, sleeves, collar, hair, and shoes.
 Glue the layers and details on, using either PVA or tacky craft glue.  
 The strange little man, the cow, Jack's mum
The chicken and the golden egg, and the magic harp.
 The chicken and the golden egg, the sack of gold, and the magic harp
 The cow, Jack, and his mum
The old man and the bag of magic beans.\

Click on the link for more of my teaching resources

Saturday 17 September 2016

DIY Shelving

I have got a house inspection coming up and my craft room was complete chaos.  I had no room left on my shelves to put things and lots of things I didn't have a home for. My flatmate asked if I would like his empty beer boxes to put things in... and I made them into a new shelving unit!

You will need:
empty beer boxes
tape - I used duct tape
scissors
 Cut the flaps off the boxes.
 Put the boxes together how you want them.  Begin taping them together.
 Wind the tape around and around the boxes until you have covered most of it.
 When you have finished taping the boxes together, cut the tape.
 My new shelves ready for action.


Wednesday 7 September 2016

Mat Time Resources: Dear Zoo story sack

 I went to the local $2 shop and picked up a container of little toy animals for $2.  Many of these animals are in the story 'Dear Zoo', but I was just missing a frog, snake and puppy... I had made frogs out of fimo modelling clay a few years ago, and I had a snake and dog finger puppet in my collection - perfect!  
They all fitted in a little drawstring pouch.

I put it in my story sack and took it to school.  It was wonderful - I sat down with a couple of children (they had been making their own books, and then I mentioned I made my own story sacks at the weekend, so they wanted to have a look)...so we sat down and I pulled out this collection of animals and began telling the story of Dear Zoo.  I don't have a copy of the book, but you don't need one because the text is so simple and repetitive.  It was not long before I had a whole group of children quietly sitting down around me listening to the story and watching entranced as I pulled out each animal.  Some of the children knew the story and were able to tell me which animal came next.  Then after I told the story, some of the children took it in turns to retell it, while others wanted to look at another story I had in my story sack!  Anyway, I have noticed over the past few weeks since the project began, the amount of language, story telling and story retelling that has been going on in the classroom, and it is so exciting to see children take on the role of being teacher and telling the story or  turning the pages of the book as their friends count and place the different characters on the mats!

Click on the link for more of my teaching resources

Story Sacks - 100 Days Project: Mat Time resources

 I decided that with all the story resources I am creating, I need something to put them in: Story Sacks!  You will need fabric and wide ribbon. And thinner ribbon or cord for the drawstring. And a sewing machine.
 Cut your fabric to your desired size. 
Cut your wide ribbon to the width of your fabric.  This will be the drawstring part of your story sack.
 Fold the wide ribbon in half lengthwise.  Open it up, place your fabric up to the fold, and fold the ribbon over. Sew into place along the edge of the ribbon. 
 Repeat on the other end of the fabric.
 Bring both sides together (wrong side up) and sew down each side.
 Cut 2 lengths of thin ribbon twice the length of your story sack with a bit to spare.
 To thread the ribbon through the drawstring part, attach to a safety pin to make it easy to pull through.

Tie the ends of one ribbon together on one side; thread the other ribbon the opposite way so that you can tie the ends together on the other side. 

 This is a neat little trick to stop ribbon or delicate fabric from fraying:
Light an incense stick.  Run the ends of the ribbon/edge of fabric through the burning incense to singe it - it seals it and stops it from fraying.  
 Completed story sacks, of all different sizes.

 I used fabric markers to write on the sacks.

Click on the link for more of my teaching resources

Tuesday 6 September 2016

Owl Babies - 100 Days Project: mat time resources

 Today's mat time resource is for the story 'Owl Babies'.  I needlefelted 3 baby owls and used a toy Hedwig that came with a Harry Potter book, as Mummy Owl.
 The three baby owls - Sarah, Bill, and Percy.
 The book and owls fit perfectly into one of the story sacks that I made at the weekend!
The owls are needlefelted firmly, to withstand lots of handling by children.

I haven't created a tutorial for needlefelting the owls, but I do have a tutorial on how to needlefelt...
Needlefelted Fairy Mobile tutorial
Needlefelted angels tutorial

Click on the link for more of my teaching resources

Saturday 3 September 2016

How to make a magic wand

 Making your own unique magic wand is simple and easy with only a few materials needed:
1 x chopstick
2 x different colours of ribbon
glue
 Cut your ribbon.  Check the length you need by wrapping it around the chopstick from one end to the other.  Leave enough ribbon at the end to hang down.  You can always cut the ribbon shorter once you have made it, but you can not make it longer.

Secure the ends of the ribbon to the fat end of the chopstick by applying glue to the ribbon and wrapping it around the end.

Apply glue to the ribbon as you go, and begin wrapping up the length of the chopstick.
When you get to the narrow end of the chopstick, wrap around until you can't go any further and trim to your preference.

The 3 Billy Goats Gruff - 100 Days Project: Mat Time Resources

This was a fun story to create in felt - especially the troll!
 I began by making some sketches of goats.
 Then I traced the goats onto clear acetate.  I like using acetate to make the templates with as it is easy to trace on, and is nice and stiff so is easy to draw around when transferring the image to felt.
Big Billy Goat Gruff
The 3 Billy Goats Gruff and the troll.  
The details on the goats were added with a sharpie pen.  The details on the troll were made with fabric paints and a tube of outliner paint.

The children at school have been asking to tell this story every day since I introduced it to them! I stood nearby to listen to the story as a couple of children sat down together, one doing the goats, and one doing the troll, and the troll said "Who's that trip-trapping over my bridge?" and the goat said "it's me, little billy goat gruff".  Then the troll said "You're going to be my afternoon tea!" and it was said with such rhythm and rhyme that it was really very funny and clever.  I love hearing the language and seeing the co-operative learning that these story time resources are generating.

Click on the link for more of my teaching resources