
I drew various shapes for fairy doors and the background on paper, before cutting out of felt. It doesn't matter what shape you use - it can be uneven, round, or straight. You could even make a hobbit house shape. I just cut my felt shapes freehand, but if you like, you can make a template first.


If you want to create a panelled look on your fairy door, stitch lines on your door before sewing on a bead for the door handle.

You will need to cut out one door, and two pieces of felt for the fairy house.

You can use whatever you have on hand for embellishment... sequins, ribbon roses, flowers, beads....

Position your door on one piece of the felt house, and sew into place.
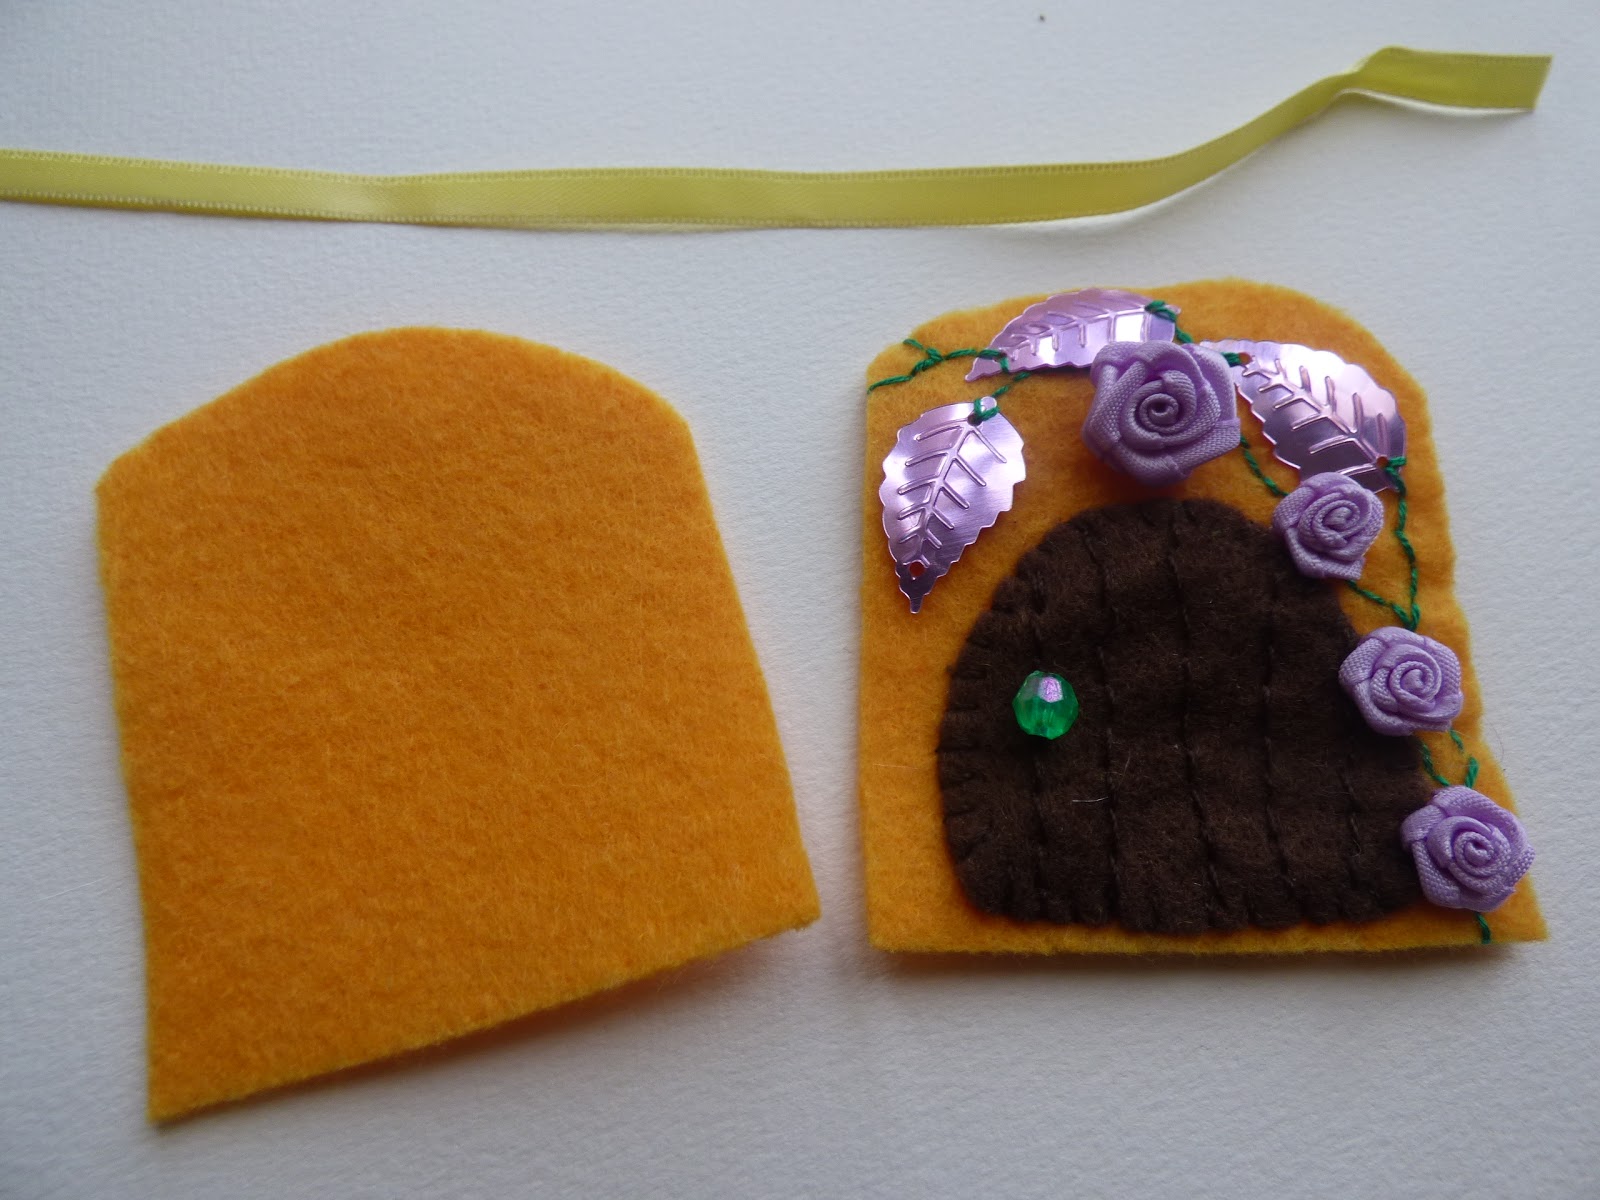
I used two strands of green embroidery floss to embellish with. Stitch sequins and flowers firmly into place - I went over them a few times to make them secure.

If you want to be able to hang your fairy door, sandwich a loop of ribbon in between the two pieces of felt. Use blanket stitch around the edge of the house to sew the two pieces of felt together.

Click on the link to see all my other craft tutorials.
Click here to see all my Christmas related tutorials
A Festive Fairy Door

I cut out two red shapes for the fairy house, and a white door. You can use whatever colour-way you wish - you could do a white house and a red door.
If you want panelling on your door, stitch your lines using backstitch on your door first, before attaching it to the house.
I cut out a tree shape from green felt, and a trunk out of light brown felt.
I folded a scrap of green felt in half to cut a circle, and then cut the middle out of it, to create the wreath.
Lay your pieces out on one of your house pieces, and begin stitching. I added beads and sequins onto the tree and wreath as I stitched, and a bead for the doorknob. Stitch each bead and sequin through twice, to ensure they are securely fastened.
When you have finished the top layer of the fairy house, position it on top of the second piece of the fairy house, and sandwich a loop of ribbon in between.
Blanket stitch around the edge, securing the ribbon firmly.
Click on the link to see all my other craft tutorials.
Click here to see all my Christmas related tutorials
No comments:
Post a Comment